

Related posts
Litter Tracking: Why It Happens and How to Stop It

Litter across the floor comes from three separate causes. Here is how to tell which one you have, and what fixes each.
Steel pans are easier to keep neutral than plastic, because there is nothing for odour to soak into. The routine below takes a few minutes a week.
Remove clumps and solids morning and evening. Run the scoop along the base to lift anything that has stuck. Level the remaining litter and top up to about three inches. That is the whole daily job.
Steel has a small practical advantage here: clumps release from the base rather than adhering the way they do to scratched plastic, so you are not chipping at the bottom of the pan.
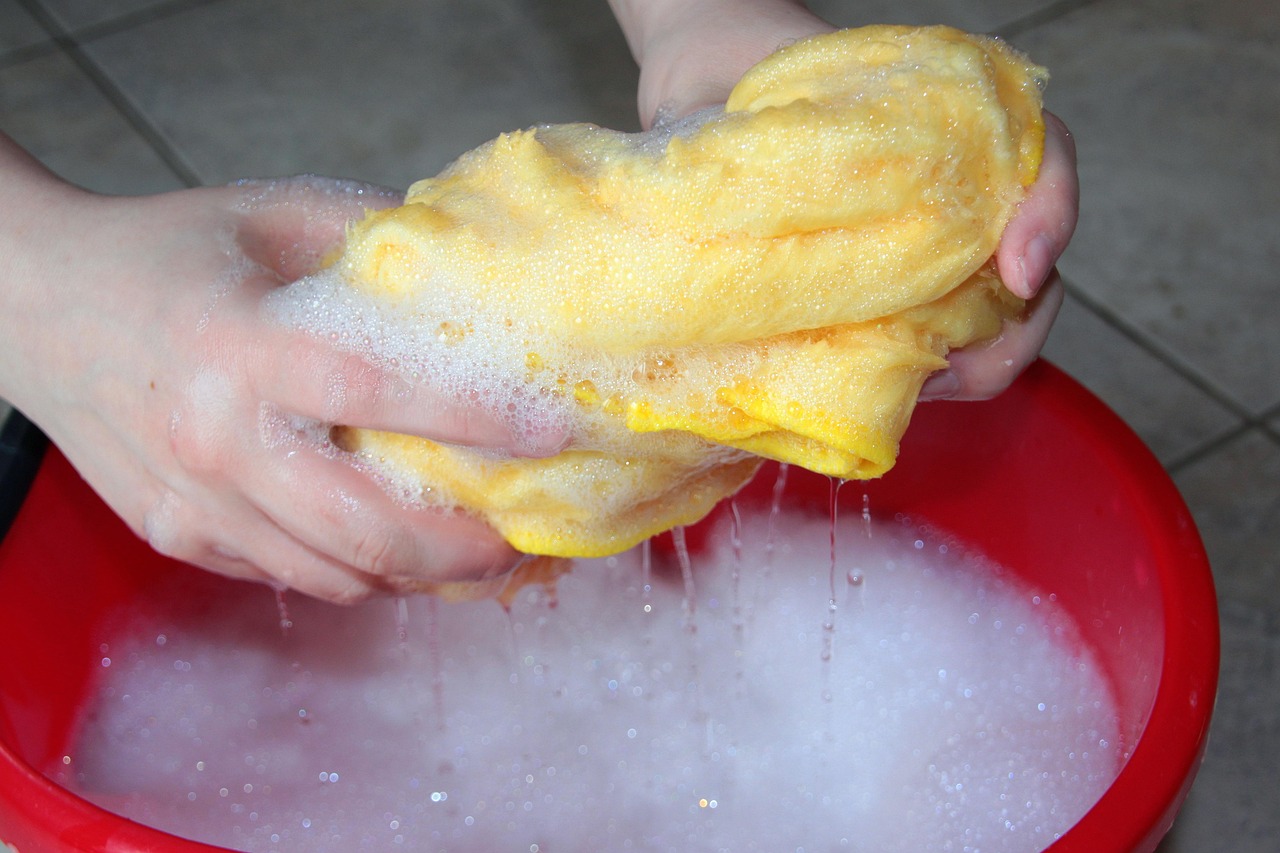
Once a week, tip the litter to one side and wipe the exposed wall and base with a damp cloth, then do the other side. This catches the film that builds up at the litter line before it becomes anything.
In a multi-cat home, do this every two weeks. Single cat, every three to four is usually fine.
White vinegar diluted about one to one with warm water, left for ten minutes, then scrubbed and rinsed well, handles mineral scale from hard water. Kansas tap water is on the hard side, so this comes up more here than in soft-water areas. Rinse until the vinegar smell is gone.
Good stainless steel used with cat litter should not rust. If you see orange marks, it is usually iron particles transferred from steel wool or from a cast-iron pan sharing a sink, sitting on the surface rather than the surface itself corroding. A vinegar wipe and a thorough rinse removes them.
Leaving damp litter sitting for weeks in a pan stored in an unheated garage is the one condition worth avoiding — dry the pan before storing it.
Considerably longer than plastic. The failure mode for plastic is scratching and odour retention, which usually forces a replacement every year or two in daily use. A steel pan cleaned as above does not develop that problem, which is the case for spending more once instead of less repeatedly.
A flimsy scoop bends against the base of a deep pan and leaves material behind, which is what starts the film at the bottom. A rigid scoop with a straight leading edge and slots narrower than your litter granules removes clumps in one pass and lets the clean litter fall through.
Metal scoops last and can be washed with the pan; plastic ones flex and eventually crack. Either way, wash the scoop when you wash the pan — a scoop left dirty puts everything straight back.
Keep litter in a sealed container rather than the opened bag. Clay litters absorb moisture from the air, and litter that has been sitting open in a humid room clumps less firmly when it goes into the box, which shows up as clumps that break on lifting.
Refill to a level three inches rather than pouring to a mound in the middle. An uneven bed means the cat digs to the base in the shallow spots.
Steel pans rarely need replacing, but they do have one failure point worth checking: any seam or weld along the base. Run a finger along it during the monthly wash. If a seam has opened enough to catch, liquid can sit in the gap where you cannot clean it, and that is the point to replace rather than persevere.
Everything else — surface marks, dulling, minor scratches from a scoop — is cosmetic and does not affect how the pan performs or how it holds odour.
See our steel pans, or read the FAQ for care questions we get asked often.
Mon–Fri 10:00–20:00 · Saturday 10:00–18:00 · Sunday 12:00–17:00